Pressure testing answers a different question than listening equipment. Where acoustic detection asks "exactly where is the leak," pressure testing asks "is there a leak at all, and which section of the system holds it." The method is straightforward: isolate a section of pipe, pressurize it, seal it off, and watch what the gauge does. A sealed section with no leak holds pressure indefinitely; a section with a leak lets it fall. The rate and pattern of the fall even hint at the leak's size.
That simplicity is the method's power. Pressure testing confirms a leak exists before anyone starts listening for it, narrows the search to one branch of the plumbing when the whole system is suspect, verifies that a repair actually worked, and diagnoses pool plumbing and irrigation zones that are hard to survey acoustically. This guide explains how the test works physically, the different test types for different pipes, what the results reveal — and what they cannot reveal — plus what a professional visit looks like.
In This Article
How Pressure Testing Works
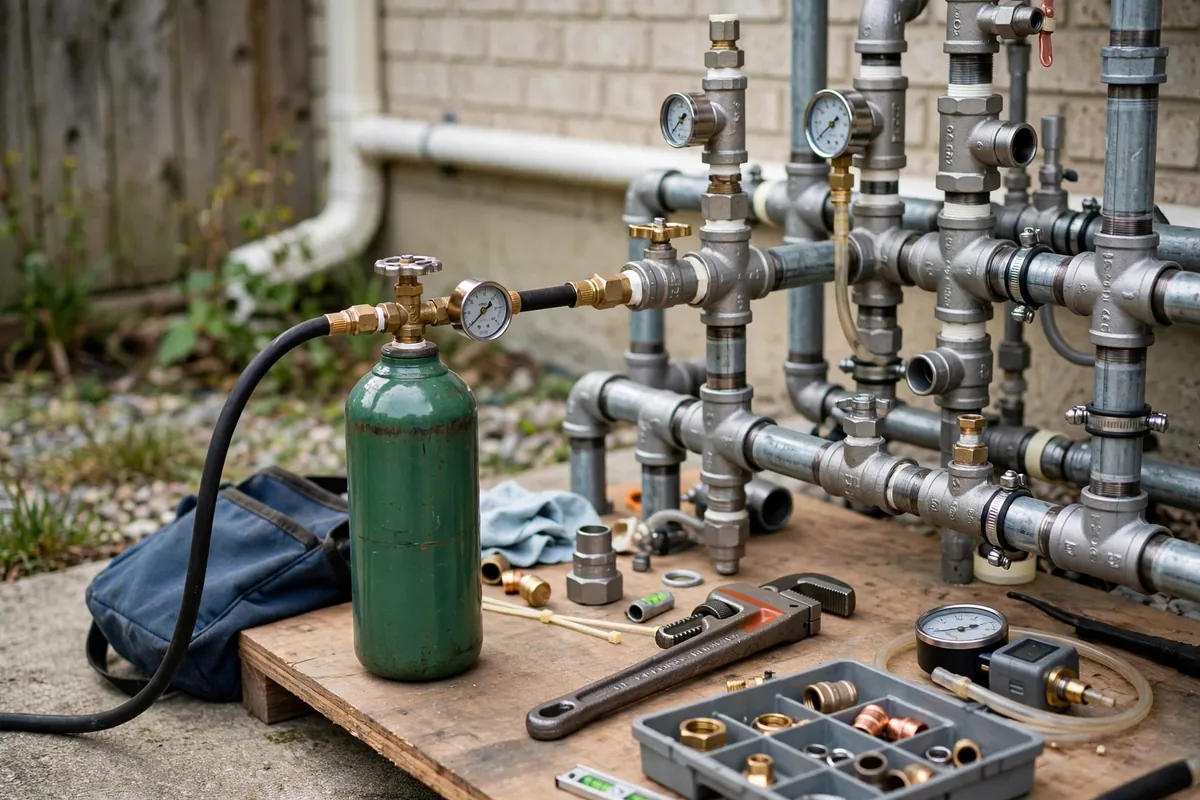
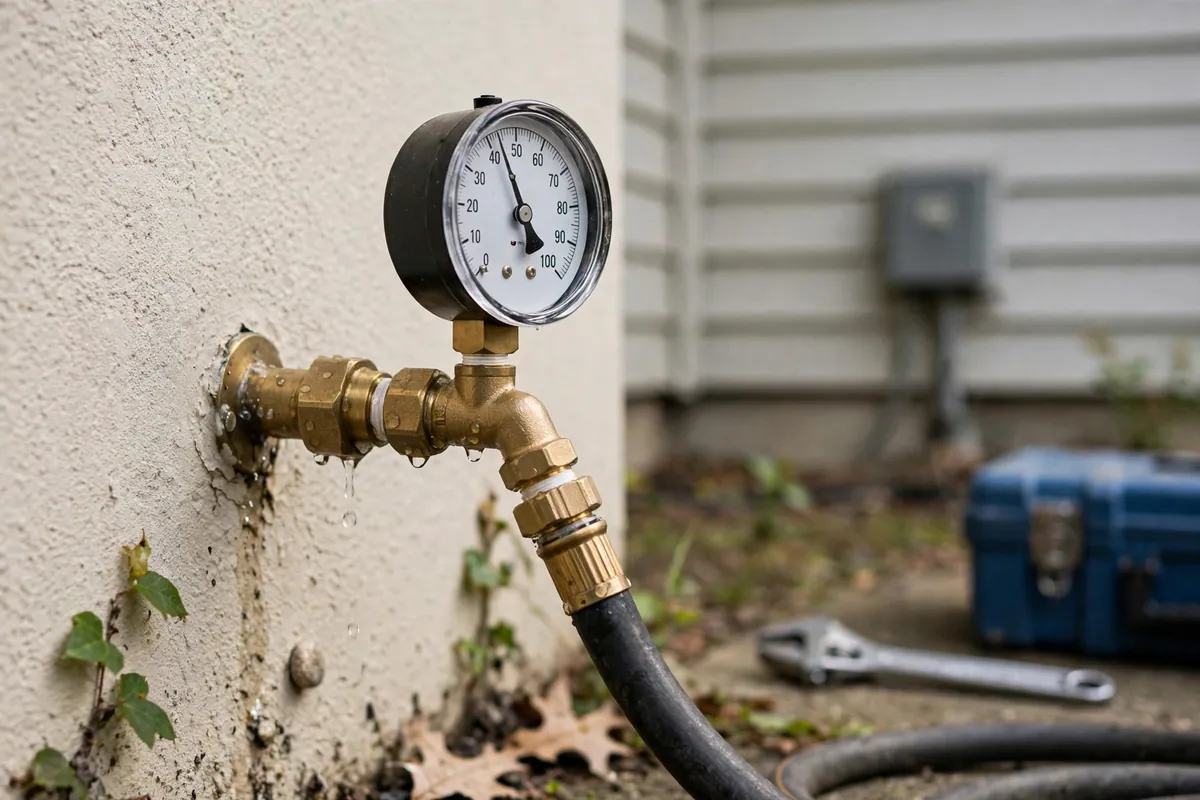
The physics is a closed-system test. A technician isolates the section under test — closing valves to separate it from the rest of the plumbing — attaches a calibrated pressure gauge, brings the section to a test pressure with water or air, then closes the fill valve so the section is sealed. From that moment, the gauge should not move. Water is effectively incompressible, so even a small volume escaping through a leak drops the pressure measurably; air is compressible, which makes air tests slightly less sensitive but useful where introducing water is impractical.
What the gauge does over the observation period is the entire diagnosis. A steady needle means the section is sound. A steady decline means water or air is leaving the section — a leak. A rapid drop points to a significant breach; a slow creep downward suggests a small seep or a weeping joint. A drop that stops at a certain pressure can even indicate the leak's elevation: once the water level falls below the leak point, air escapes instead and the dynamics change. Temperature matters as a confounding factor — warming water expands and raises pressure slightly, cooling lowers it — so professionals account for temperature drift and use observation periods long enough to separate real loss from thermal noise.
Isolation is what makes the method diagnostic rather than merely alarming. A whole-house test that fails tells you only that a leak exists somewhere. Closing branch valves and testing the hot side separately from the cold, the upstairs separately from the downstairs, or the pool's suction side separately from the returns, converts one vague failure into a specific answer: the leak is in this branch. That answer then directs the pinpointing method — acoustic listening, thermal imaging, or tracer gas — to the right part of the system instead of the whole house.
Water is the standard medium for supply-line tests because it is incompressible: tiny losses show up clearly on the gauge. Air is used for drain-line and some pool-line tests, and for situations where filling with water is impractical. Each has its place; the choice depends on the pipe and the question being asked.
The Main Test Types And What Each Reveals
"Pressure testing" is an umbrella term for several distinct tests, each matched to a pipe type and a question:
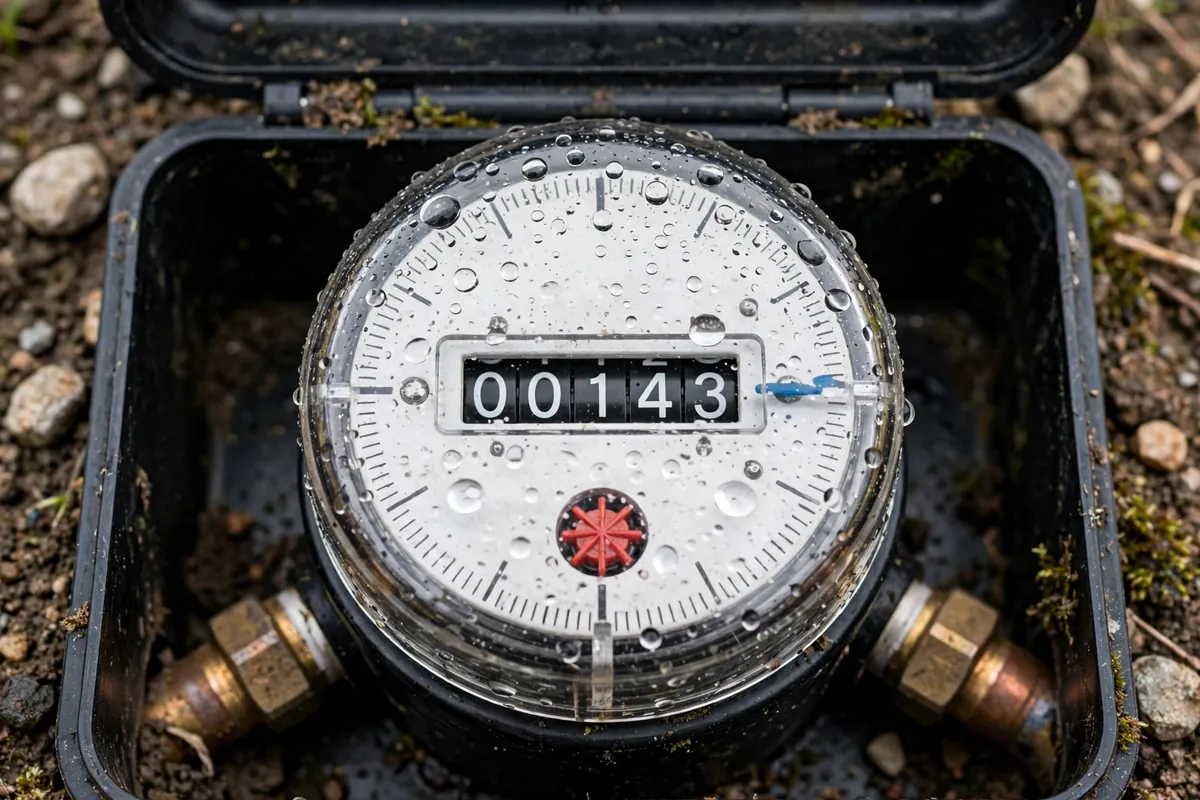
- Supply-line pressure test (hydrostatic). The house supply is isolated at the meter, pressurized with water, and monitored. Reveals: whether any pressurized leak exists on the property side, and — with branch isolation — whether it is on the hot side, cold side, or a specific branch. This is the standard first test when the meter spins with everything off.
- Drain-line hydrostatic test. A drain section is plugged at both ends, filled with water to a standpipe, and the water level is watched. Reveals: leaks in gravity drain and sewer lines, which acoustic equipment cannot hear. A falling level means the pipe is losing water through a crack, separated joint, or break.
- Pool plumbing pressure test. Each pool line — skimmer, main drain, returns — is isolated with plugs, pressurized with air, and monitored individually. Reveals: exactly which buried pool line leaks, which is the essential first step before any pool leak location work begins.
- Irrigation zone test. Zones are pressurized one at a time and the gauge or flow is observed. Reveals: which zone contains the leak, narrowing the search before zone-by-zone investigation.
- Post-repair verification test. After any leak repair, the repaired section is pressure-tested again. Reveals: whether the fix actually holds — the only proof that matters before walls are closed or concrete is poured back.
Notice the pattern: every test isolates, pressurizes, and observes. The differences are the medium, the fittings, and the interpretation — which is why the test must be matched to the pipe. A supply test on a drain line proves nothing, and vice versa.
What Pressure Testing Cannot Reveal
Pressure testing is a confirming and isolating method, not a pinpointing one. Its limits are worth understanding before you book:
- It does not show the leak's exact location. A failed branch test says "the leak is in the hot-water branch serving the east bathrooms" — it does not say "eighteen inches from the tub valve." Pinpointing still requires acoustic, thermal, or tracer gas work afterward.
- It can be fooled by multiple issues. A dripping faucet, a running toilet, a faulty gauge connection, or a valve that does not seal fully can all mimic or mask a leak's signature. Good technicians verify the test setup before interpreting the result.
- Tiny seeps can hide in thermal noise. A very small leak's pressure loss can be hard to distinguish from normal temperature-driven fluctuation over a short observation period. Longer tests and stable conditions separate the two.
- It tells you nothing about pipe condition otherwise. A section that passes today can develop a leak next year; the test is a snapshot, not a health certificate. It also does not show scale buildup, corrosion, or partial blockages — for the inside story, camera inspection is the tool.
These limits are exactly why professionals layer methods. Pressure testing is typically the first or second step in a diagnostic sequence: confirm and isolate with pressure, then pinpoint with listening or gas. Skipping straight to pinpointing without confirming the section wastes time; pinpointing without ever confirming risks chasing a sound that is not a leak.
| Test | Pipe Type | Question It Answers | What Comes Next |
|---|---|---|---|
| Supply hydrostatic test | Pressurized water lines | Is there a supply leak, and on which branch? | Acoustic or tracer-gas pinpointing on the failed branch |
| Drain hydrostatic test | Gravity drain / sewer lines | Is the drain line losing water through a crack or break? | Camera inspection to see the defect directly |
| Pool line pressure test | Buried pool plumbing | Which pool circuit leaks — skimmer, drain, or returns? | Listening, dye, or gas location on that circuit |
| Irrigation zone test | Sprinkler zone piping | Which zone contains the leak? | Zone-by-zone acoustic or visual investigation |
| Post-repair verification | Any repaired section | Does the repair actually hold? | Close up the wall, slab, or deck with confidence |
When Professionals Choose Pressure Testing
Pressure testing is the right first move when the question is existence or location-at-branch-level rather than exact position. The classic trigger is a spinning meter with no visible leak: the supply test confirms the leak is real and, with isolation, tells the technician whether to listen on the hot side, the cold side, or a particular branch. It is also the standard opening for pool leak diagnosis — pressurizing each pool line individually identifies the leaking circuit before any listening or dye work begins — and for irrigation systems, where zone-by-zone testing beats walking acres with a microphone.
The other major use is verification. After a slab leak repair, the line is pressure-tested before the concrete is restored; after a pool line repair, before the deck is closed. A repair that has not been verified is a hope, not a fix, and reputable technicians insist on the test. Homeowners sometimes encounter pressure testing in a different context — a home inspector or insurance process requesting a drain-line hydrostatic test — and the procedure is the same: isolate, fill, observe, report.
One caution belongs here: supply-line pressure testing involves isolating valves and working with pressurized water, and drain hydrostatic tests involve plugging lines. Done incorrectly, either can cause water damage or give misleading results. It is professional diagnostic work, not a weekend project — the safe homeowner contribution is knowing what the test reveals and asking for it when the situation calls for it.
What A Visit Looks Like
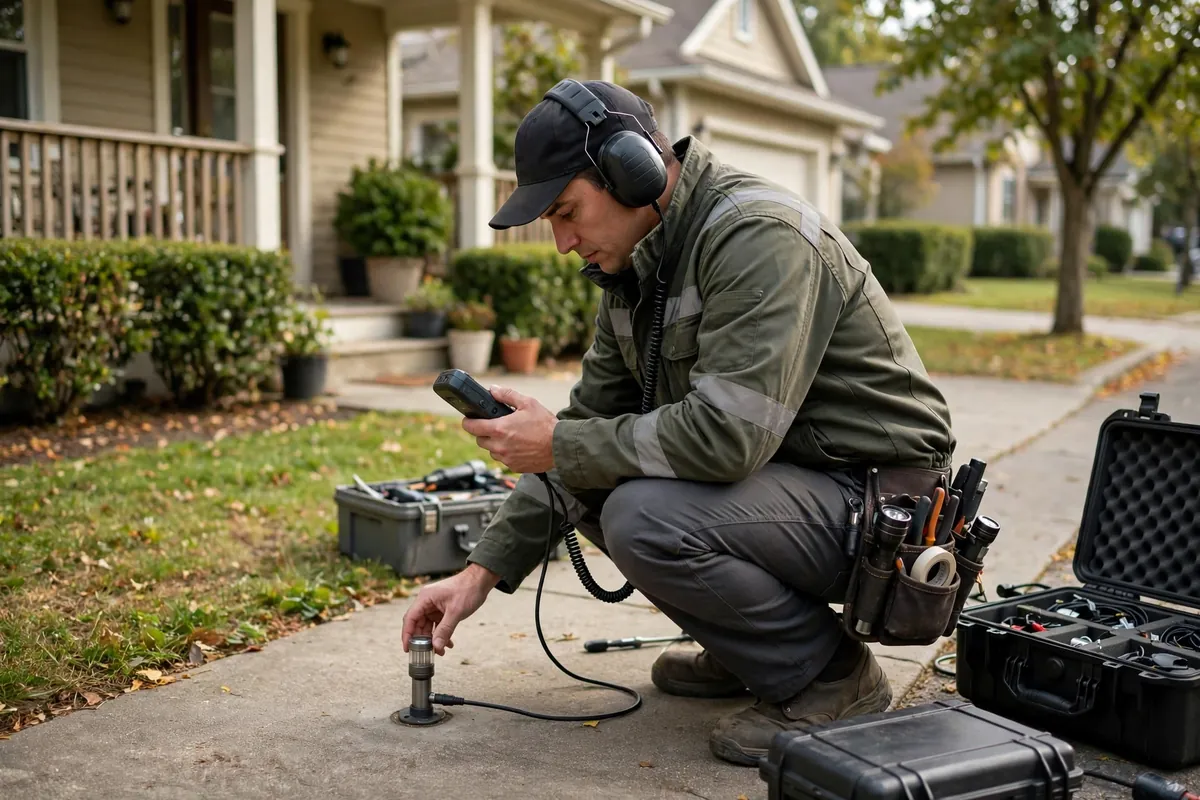
A pressure-testing visit is quieter than an acoustic one — more gauges and valves than microphones. The technician starts by confirming the symptom and checking the meter, then sets up the test: attaching the gauge assembly (usually at an outdoor hose bib, the water heater, or the meter), closing isolation valves to define the test section, and bringing the section to test pressure. Then comes the observation period — typically 15 to 30 minutes for a supply test, longer for drain hydrostatic tests — during which the gauge is monitored and temperature noted.
If the section fails, the technician narrows it: closing branch valves one at a time and retesting, or moving to the next branch, until the leak is isolated to a specific run of pipe. That isolated result is then handed to the pinpointing step — often in the same visit — so you go from "there is a leak" to a marked location in one appointment. If the section passes, that is equally valuable: it rules out the supply side and redirects the investigation toward drains, irrigation, or the pool, saving everyone from chasing the wrong system.
When the evidence suggests a hidden leak but its location is a mystery — a spinning meter, a sudden high bill, a pool losing water — our water leak detection service uses pressure testing as the foundation of the diagnosis. Nineteen years in Leesburg, (352) 703-8206 answered around the clock, arrival typically within 30 to 45 minutes — and for urgent situations, our emergency service runs the same diagnostic process day or night.
If anyone repairs a leak at your home — a slab line, a pool pipe, a service line — ask them to pressure-test the repair before closing things up. It takes minutes, it is the only proof the fix holds, and a technician who welcomes the request is a technician you can trust.