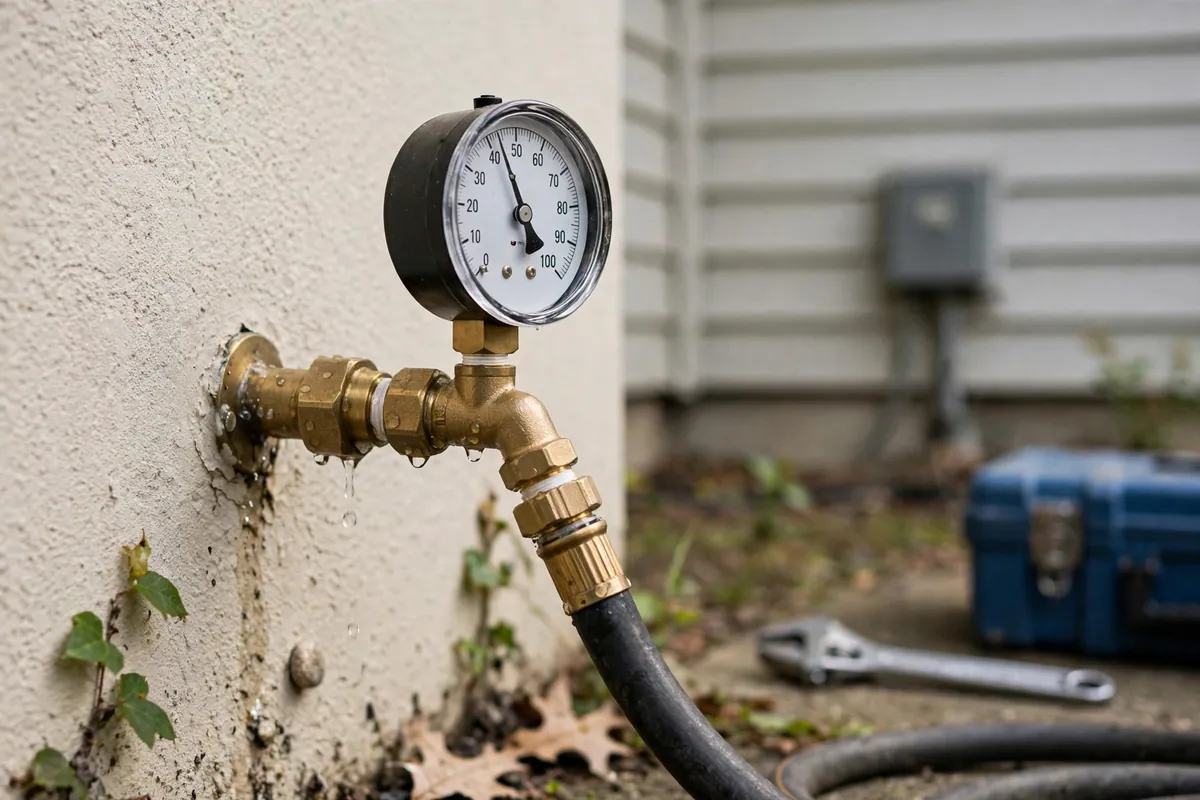
When pressurized water escapes through a crack, hole, or failed joint, two things happen that you can hear with the right equipment. First, the turbulence of water jetting through the opening vibrates the pipe wall itself, and that vibration travels along the pipe in both directions. Second, the escaping water disturbs the surrounding soil or slab material, creating a localized noise source right at the leak. Together these produce a hissing or whooshing sound with frequency characteristics — typically concentrated between a few hundred and a couple thousand hertz — that differ measurably from background noise like traffic, appliances, or water running normally through fixtures.
Acoustic leak detection is the practice of capturing that sound with sensitive sensors, filtering out everything that is not the leak, and using the signal's strength and timing to locate the source. It is the oldest electronic leak-location method, the most widely used, and — when conditions are right — the most precise for pressurized water lines. This guide explains the physics, the equipment, what the method can and cannot find, when professionals reach for it, and what happens during a visit.
In This Article
How Acoustic Detection Works
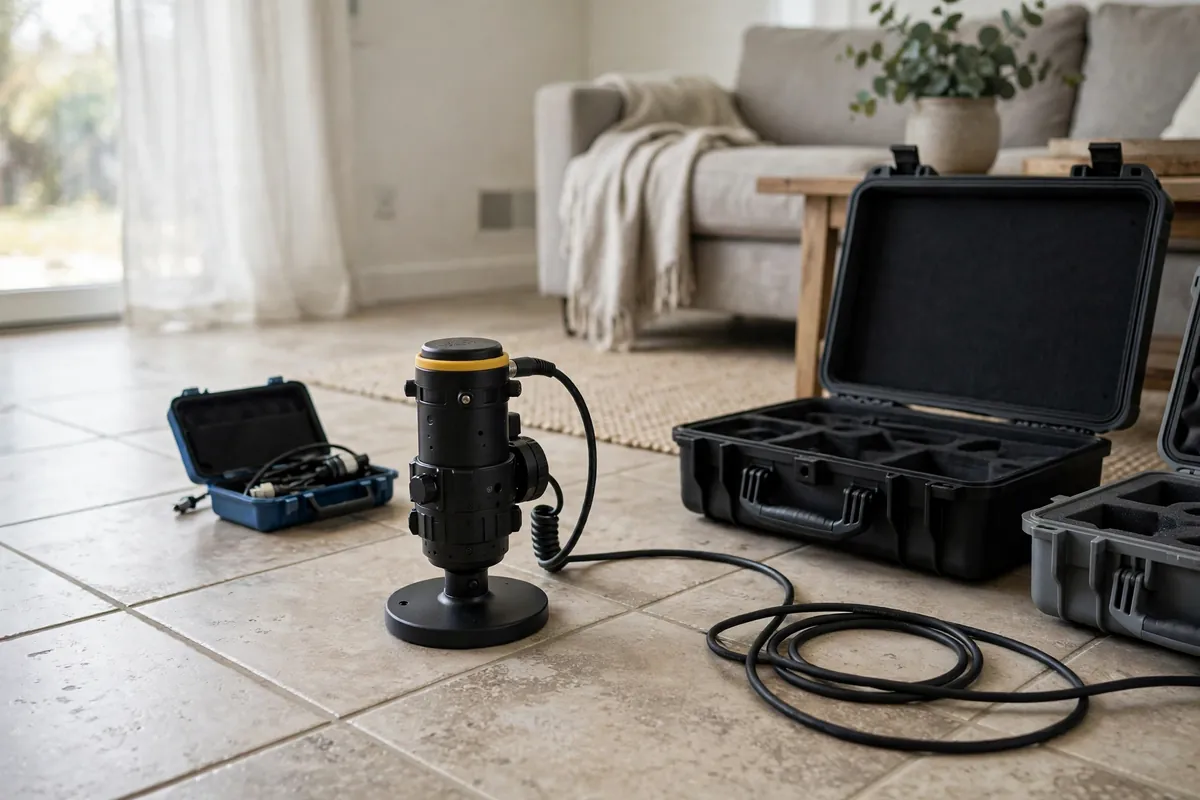
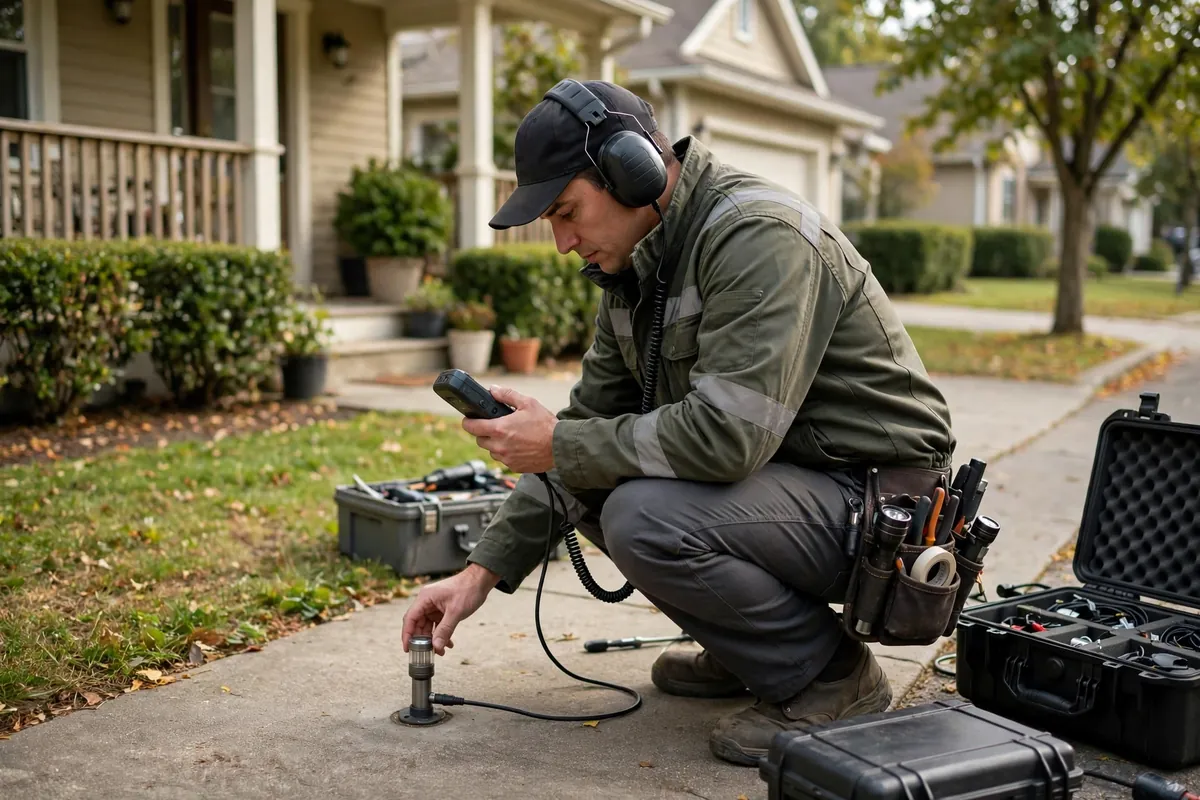
The core principle is simple: a leak is a sound source, and sound gets louder as you approach the source. The practice is more refined. A technician starts with a general survey, placing a sensitive ground microphone or contact sensor at accessible points — hose bibs, meters, valves, cleanouts — and listening for the leak's signature. Modern sensors use piezoelectric elements or accelerometers that convert tiny vibrations into electrical signals, amplified and filtered so the leak sound stands out from ambient noise. Experienced technicians recognize the difference between a leak's steady hiss and lookalike sounds: a running toilet, a recirculation pump, or water hammer all have different characters.
Once the general area is identified, pinpointing begins. The classic approach is comparative listening: the technician moves the sensor in a grid pattern, marking where the signal is strongest, and the leak sits at the center of the loudest readings. For buried lines, the more advanced tool is the leak noise correlator — two sensors placed on the pipe at known points on either side of the suspected leak, which measure the tiny difference in arrival time of the leak noise at each sensor. Since sound travels through the pipe material at a known speed, that time difference converts directly into a distance: the leak is X feet from sensor A and Y feet from sensor B. Correlators can locate leaks on long buried runs where grid listening would take all day.
Pipe material matters enormously. Metal pipes — copper, galvanized steel, ductile iron — transmit leak sound efficiently over long distances, sometimes hundreds of feet. Plastic pipes (PVC, PEX, poly) absorb sound, so the signal fades within a much shorter distance and pinpointing requires closer sensor spacing and more patience. Soil matters too: dense, compacted soil transmits vibration well, while loose, sandy soil — common across Lake County — absorbs it, shortening the detectable range. These are not flaws in the method; they are the physics the technician works with, and a good one adjusts technique accordingly.
Normal water flow through an open faucet is relatively quiet at the pipe wall because the flow is smooth. A leak forces water through a small, irregular opening at high velocity, creating turbulence — chaotic, high-energy flow that vibrates the pipe far more violently. That turbulence is what the microphone hears, and it is why a pinhole leak can sound louder than a fully open tap.
What Acoustic Detection Finds
Acoustic methods excel at one specific job: locating leaks in pressurized water lines. That covers the majority of hidden supply-side leaks homeowners face:
- Slab leaks — pressurized hot or cold lines under the concrete slab are the classic acoustic target; the slab itself transmits sound well, and pinpointing avoids exploratory jackhammering. Our slab leak detection guide walks through the full process.
- Buried service lines — the line from the meter to the house can be traced and the leak pinpointed with correlators, even under driveways or landscaping.
- Yard and irrigation main lines — pressurized irrigation mains (before the zone valves) produce the same leak signature as a house supply line.
- Wall and ceiling supply lines — contact sensors on drywall or fixtures narrow the search to a small area before any opening is cut.
The method's greatest strength is precision. Under good conditions — a metal pipe, compacted soil, a single leak — acoustic pinpointing routinely locates the source within inches. That precision is what makes non-invasive repair possible: instead of opening a trench along the whole line or breaking a large section of slab, the repair targets one small area. It is also fast: a survey and pinpoint on a residential property typically takes an hour or two, not a day of exploratory digging.
What Acoustic Detection Cannot Find
Every detection method has blind spots, and honest professionals say so upfront. Acoustic detection struggles or fails in these situations:
- Drain and sewer leaks. Drain lines are not pressurized — wastewater flows by gravity — so there is no turbulence signature to hear. Acoustic gear is the wrong tool for a drain problem; camera inspection is the right one.
- Very small leaks in absorbent soil. A weeping joint in loose, sandy soil may not generate enough vibration to rise above background noise, especially at depth. Lake County's sandy soil is genuinely harder to listen through than dense clay.
- Leaks masked by ambient noise. Heavy traffic, running pool equipment, or a constantly cycling well pump can drown out a faint leak signal. Good technicians schedule around noise or shut down interfering equipment.
- Multiple simultaneous leaks. Two or three leaks on the same line create overlapping sound fields that confuse both grid listening and correlators. Each leak must be isolated — often by pressure-testing sections individually.
- Leaks on the far side of plastic pipe runs. Sound fades quickly in PVC and PEX, so a leak far from any sensor contact point may be inaudible. This is where tracer gas often takes over.
None of these limitations means the leak is unfindable — they mean the technician switches methods. A thorough leak detection visit layers techniques: acoustic first for pressurized lines, pressure testing to confirm and isolate, thermal imaging for hot lines, tracer gas when acoustic cannot hear. The mark of a professional is knowing which tool the situation calls for, not forcing one tool to do every job.
| Method | How It Locates | Best For | Limitation |
|---|---|---|---|
| Acoustic listening / correlators | Hears leak turbulence; loudest point or time-difference calculation | Pressurized supply lines, slab leaks, buried service lines | Drain lines (no pressure, no sound); faint leaks in sandy soil |
| Thermal imaging | Sees temperature differences from hot water or evaporation | Hot-water slab leaks, radiant lines, wet insulation | Cold-water leaks show weakly; sun-loaded surfaces confuse readings |
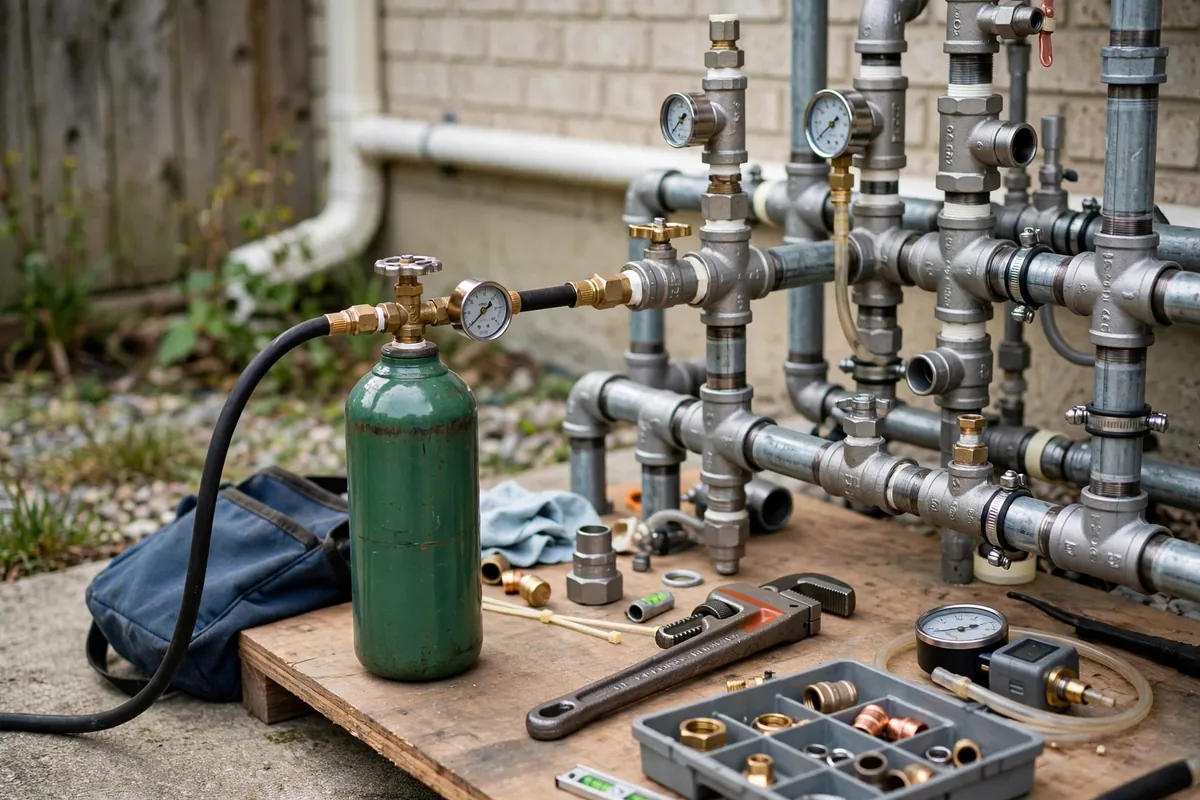
| Pressure testing | Isolates sections and measures pressure loss | Confirming a leak exists and which section holds it | Confirms but does not pinpoint the exact spot |
| Tracer gas | Injects detectable gas that escapes at the leak and is sniffed at the surface | Tiny leaks, thick slabs, plastic pipe, multiple leaks | Slower setup; ineffective under standing water or in high wind |
When Professionals Choose Acoustic First
Acoustic detection is the default starting point when the evidence points to a pressurized supply leak: the water meter moves with everything off, the bill has jumped without explanation, or there are warm spots on the floor suggesting a hot-water slab leak. It is also the right first choice when the leak's general location is known but the exact spot is not — for example, a wet area in the yard above the service line, where the correlator can pinpoint within feet and limit digging to one hole instead of a trench.
Professionals choose something else first in specific cases. If the meter is still and the problem is slow drains or sewage odors, the issue is on the drain side and acoustic gear stays in the truck. If a previous acoustic survey came up empty but the meter still spins, the leak may be too small or the soil too absorbent — time for tracer gas. And when the question is simply "is there a leak, and in which section," rather than "exactly where," pressure testing answers faster and cheaper. Method selection is a diagnostic decision, and a good technician explains the reasoning before starting.
What A Visit Looks Like
A typical acoustic leak detection visit follows a calm, methodical sequence. The technician starts with questions and a meter check: confirming the meter moves with everything off establishes that a pressurized leak actually exists before any listening begins. Next comes the survey — sensors placed at the meter, hose bibs, and accessible valves to confirm the leak's general zone and rule out fixtures (a running toilet can mimic a leak's meter behavior).
Then the pinpointing: grid listening across the suspect area, or correlator sensors clamped to the line at two points for a buried run. You will see the technician marking the ground or floor with chalk or tape at the loudest readings, narrowing to a final mark. The whole process is non-invasive — no digging, no drilling, no dust — and usually takes one to two hours for a residential property. At the end, you get a marked location and an explanation of what was found, which is the information any repair — ours or anyone's — needs to proceed with a small, targeted fix instead of exploratory demolition.
If you suspect a hidden supply leak — a spinning meter, an unexplained high bill, warm floor spots, or the sound of running water when nothing is on — our water leak detection service starts with exactly this process. We have served Leesburg for 19 years, we answer at (352) 703-8206 around the clock, and we typically arrive within 30 to 45 minutes. For slab-specific concerns, see our slab leak page; for after-hours emergencies, our emergency line is staffed 24/7.
You can help the visit go faster: note when you first noticed the symptom, check whether the meter moves with everything off, and turn off pool equipment, well pumps, or anything else noisy near the suspected area. The quieter the property, the faster the listening goes.