Slab leak detection locates a leaking pipe under your concrete foundation without tearing up floors to search for it. Technicians combine acoustic listening (sensors that hear pressurized water escaping), thermal imaging (cameras that read heat patterns through the slab), pressure testing (gauges that confirm which line is losing water), and tracer gas (a safe gas that rises through the concrete at the break). Used together, these methods mark the leak's position precisely enough that any repair opens one small, targeted area.
If you are seeing the classic signs of a slab leak — warm spots, running-water sounds, a climbing bill — this is what happens when a professional comes to find it. No jackhammer roulette, no exploratory demolition. Just methodical testing, one line at a time.
In This Article
- Why Nobody Starts With A Jackhammer
- Step One: Confirming The Leak At The Meter
- Acoustic Listening: Hearing What You Cannot See
- Thermal Imaging: Reading Heat Through The Slab
- Pressure Testing: Confirming Which Line Leaks
- Tracer Gas: Pinpointing The Stubborn Ones
- How The Methods Work As A Team
- What To Do Before The Technician Arrives
- After The Leak Is Found
Why Nobody Starts With A Jackhammer
Breaking concrete to hunt for a leak is expensive guesswork: every wrong hole destroys flooring, creates dust through the whole house, and still leaves the leak unfound. Modern detection reverses the order — find first, open second — so the only concrete that comes up is the concrete directly over the break.
This matters because slab leaks hide completely. The pipe sits inside or beneath four inches of concrete, and water can travel along the pipe trench before surfacing far from the actual break. A wet spot on the floor might sit ten feet from the failed fitting. Detection equipment closes that gap from the surface, which is why a professional slab leak detection visit almost always costs less than a single exploratory hole in the wrong place.
Step One: Confirming The Leak At The Meter
Every detection visit starts with confirmation, because the symptoms of a slab leak overlap with other problems — a running toilet, a yard line leak, or a dripping hose bibb can all mimic the signs. The technician shuts off every fixture and appliance, then watches the water meter. A meter that keeps moving proves water is leaving the system somewhere.
Next comes isolation: the hot and cold sides are tested separately, usually with a pressure gauge on the water heater drain valve and at hose bibbs. If the hot side loses pressure while the cold side holds, the leak is on a hot water line — which also explains any warm spots on the floor. This single step narrows the search from the entire plumbing system to one side of it.
Acoustic Listening: Hearing What You Cannot See
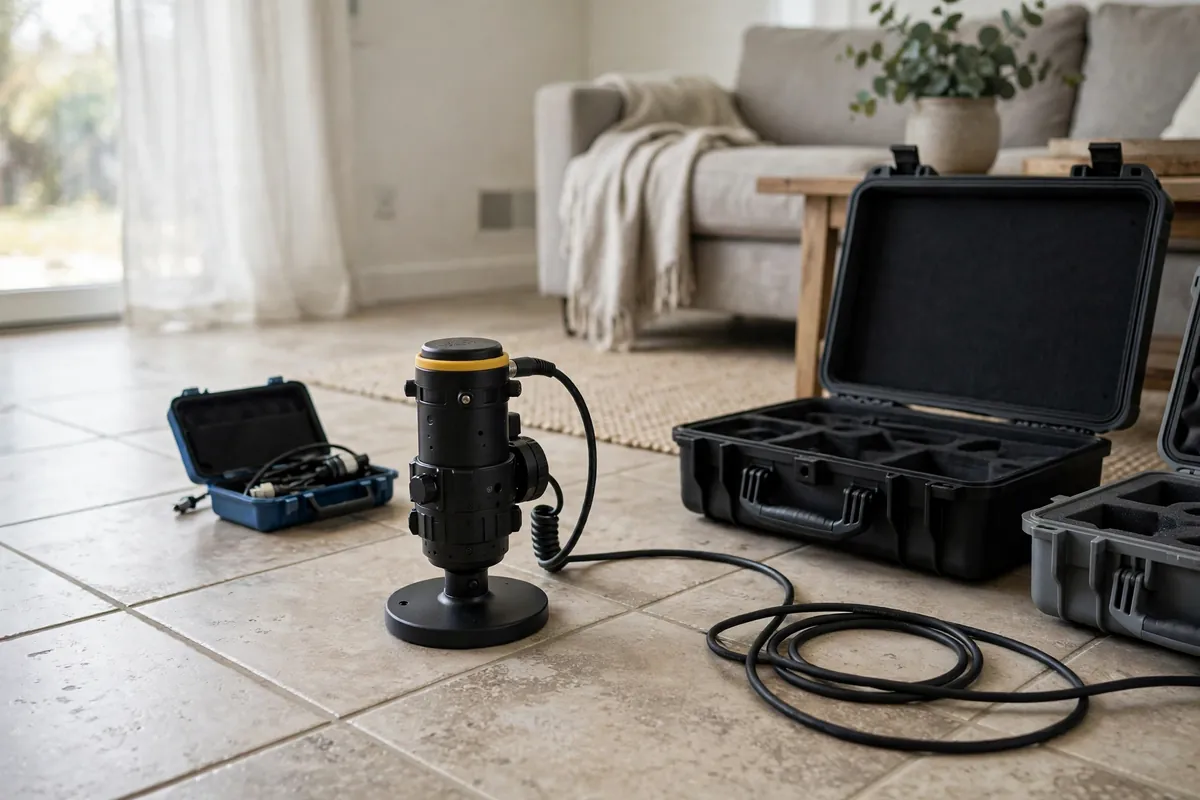
Pressurized water forcing its way through a pinhole or crack vibrates the pipe, and that vibration travels through the concrete to the floor surface. Acoustic sensors — highly sensitive ground microphones — pick up that vibration and let the technician hear the leak.
In practice, the technician places the sensor at multiple points across the floor and compares the loudness. The sound grows stronger as the sensor nears the break, so sweeping a grid pattern homes in on the loudest point. Different leaks sound different: a pinhole in a copper line hisses at a high pitch, while a split fitting gurgles lower. Experience teaches the ear to separate leak noise from background hum like refrigerators and air handlers, which is why the house needs to be as quiet as possible during this step.
Acoustic listening finds pressurized water leaks — supply lines, not drains — and it works best on hard flooring like tile, where vibration transmits cleanly. Thick carpet muffles the signal, so technicians often pull back a corner of carpet or listen at tile thresholds and baseboards nearby.
Thermal Imaging: Reading Heat Through The Slab
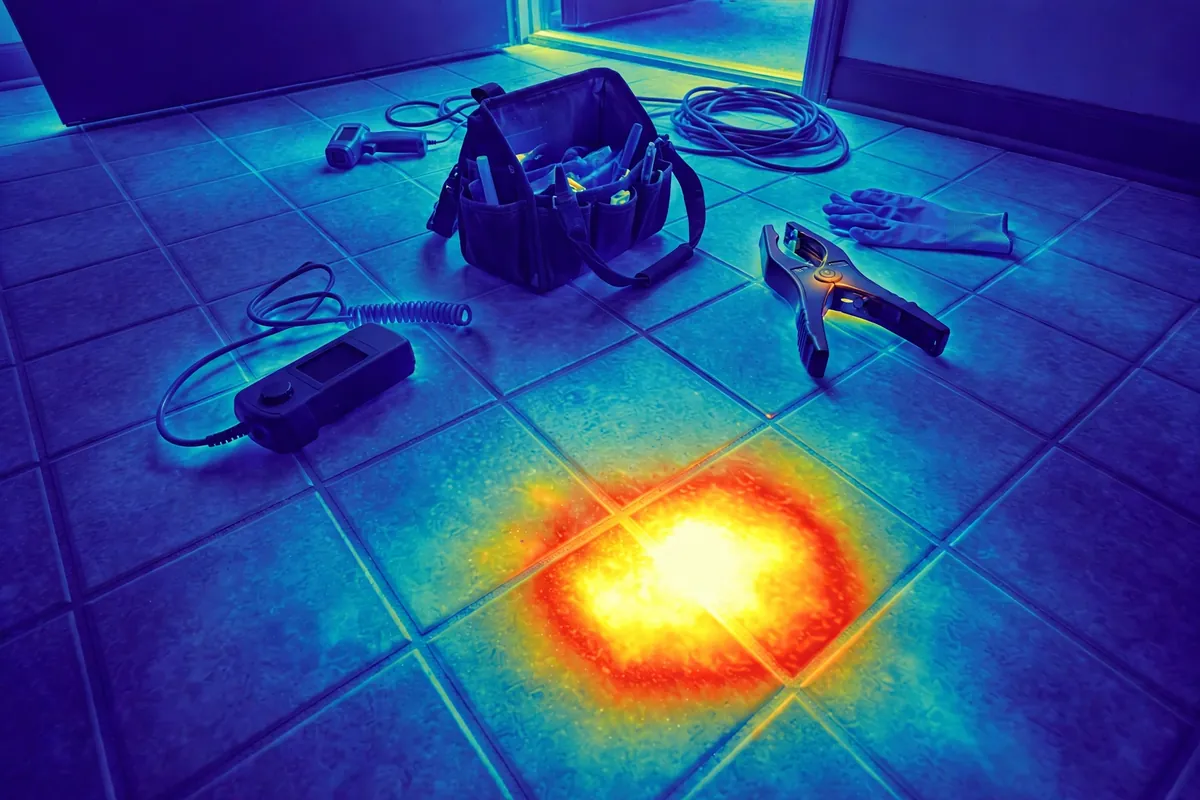
A thermal camera does not see through concrete — it reads surface temperatures with enough sensitivity to reveal the heat signature of a leak. A hot water leak warms the slab above it, and the camera displays that warmth as a bright plume spreading from the break. A cold water leak shows the opposite: a cooler patch where escaping water chills the slab.
Thermal imaging shines as a scanning tool. Where acoustic listening checks one point at a time, a camera surveys a whole room in seconds and highlights every thermal anomaly — the leak, plus the hot water lines themselves, plus sun-warmed areas near windows. The technician then investigates each anomaly with other methods rather than assuming the brightest spot is the break. That discipline matters: a warm patch near a sunny sliding door is solar heat, not plumbing, and the camera alone cannot tell the difference.
In Florida homes, thermal imaging pairs naturally with acoustic work because tile floors — common here — both transmit vibration well and display temperature patterns clearly.
Thermal patterns shift as a leak runs. A good technician scans, performs pressure isolation, then re-scans — a heat plume that fades when the hot line is shut off confirms the diagnosis.
Pressure Testing: Confirming Which Line Leaks
Pressure testing answers the question the other methods cannot fully settle: which exact line is losing water? The technician caps or valves off sections of plumbing and pressurizes each one with a gauge attached, then watches whether the pressure holds.
A line that holds pressure is exonerated. A line whose gauge needle drifts downward has a breach somewhere along its length. By testing the hot side, the cold side, and individual branches separately, the technician builds a map of healthy versus leaking lines before ever marking the floor.
Pressure testing is also the method that rules leaks out. If every line holds pressure, the problem is not a pressurized slab leak at all — perhaps a drain line issue, a roof leak traveling down, or a condensation problem. A negative result is valuable because it redirects the search instead of authorizing pointless demolition.
Tracer Gas: Pinpointing The Stubborn Ones
Some leaks defeat listening and cameras: tiny pinholes that whisper too quietly, or leaks under thick flooring that muffle every signal. For these, technicians use tracer gas — a safe mixture of hydrogen and nitrogen introduced into the drained line.
The physics is simple. Hydrogen molecules are the smallest in existence, so the gas escapes through the break, rises through the porous concrete, and reaches the floor surface directly above the leak. A handheld detector sniffing along the floor alarms where the gas concentration peaks. Because the gas travels straight up rather than along the pipe trench, it marks the break's position with remarkable precision.
Tracer gas is the method of last resort in the best sense — it costs more setup time than listening, so technicians deploy it when the first-line methods leave ambiguity, not as an opening move. When a homeowner asks why detection sometimes takes a full afternoon, this careful escalation is usually the reason.
How The Methods Work As A Team
No single method carries a detection visit. The reliable sequence looks like this: meter confirmation proves a leak exists, isolation and pressure testing identify the leaking line, thermal imaging scans for the general area, acoustic listening narrows it to a spot, and tracer gas settles any remaining doubt. Each method checks the others, so the marked location is a conclusion supported from several angles — not a guess from one reading.
When the methods agree, the technician marks the floor and documents the position with photos and notes. That documentation becomes the repair plan: whether the fix is a spot repair or a reroute, the contractor knows exactly where to work. Ask to see the readings and the marked spot before approving any repair — a confident technician welcomes the question.
What To Do Before The Technician Arrives
A little preparation makes the visit faster and the results more reliable:
- Clear a path to the water heater, main shutoff, and any warm or damp spots
- Know where your water meter is — the technician will test there first
- Note when you first noticed each symptom and whether it is getting worse
- Move small rugs and furniture off suspect areas so equipment sits flat on the floor
- Keep pets in another room during acoustic listening, which needs a quiet house
- Have your recent water bills handy if the leak was found through high usage
Detection works best as a partnership: you supply the symptom history, the technician supplies the instruments. The more precisely you can describe what you have noticed, the faster the search converges.
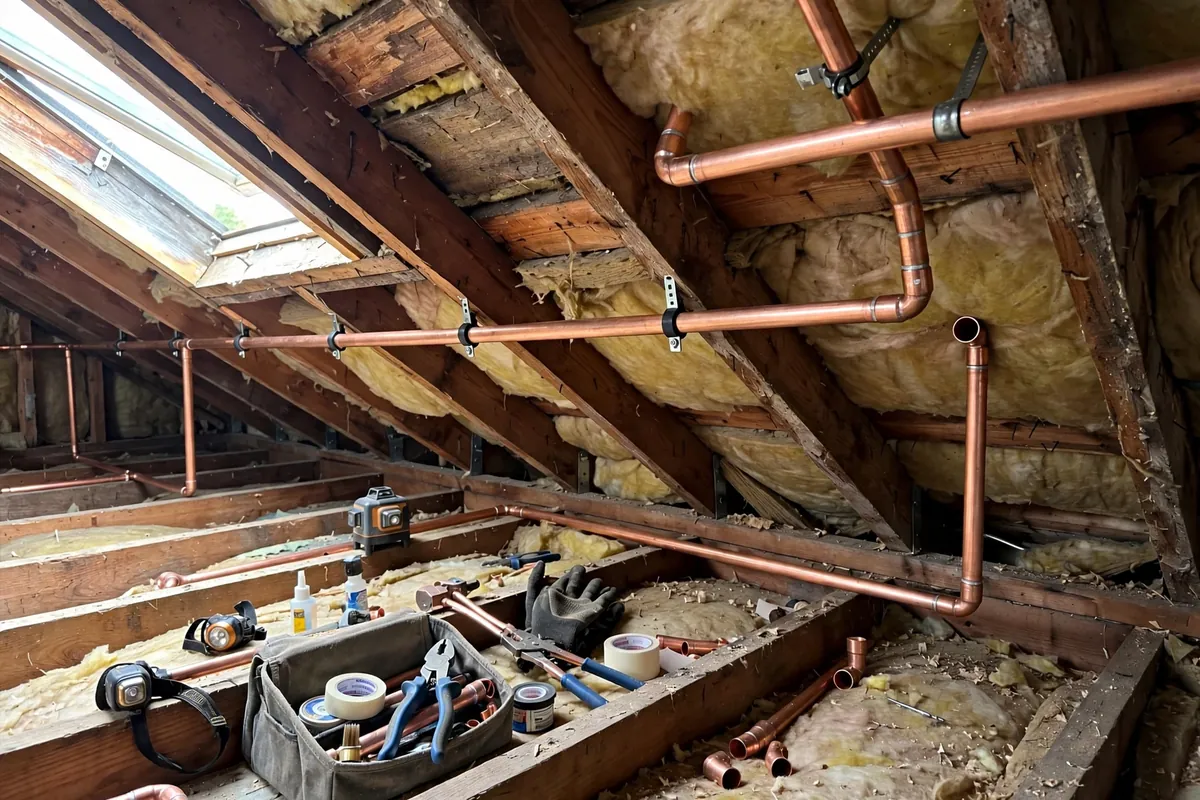
After The Leak Is Found
Finding the leak is half the job — deciding how to fix it is the other half. With the break located, your options are a targeted spot repair through the slab or abandoning the under-slab line for a reroute through walls or attic. Our guide to slab leak repair options compares both paths honestly. And if you are wondering what influences the price of the visit itself, what affects the cost of detection breaks down the factors — without a single invented number.