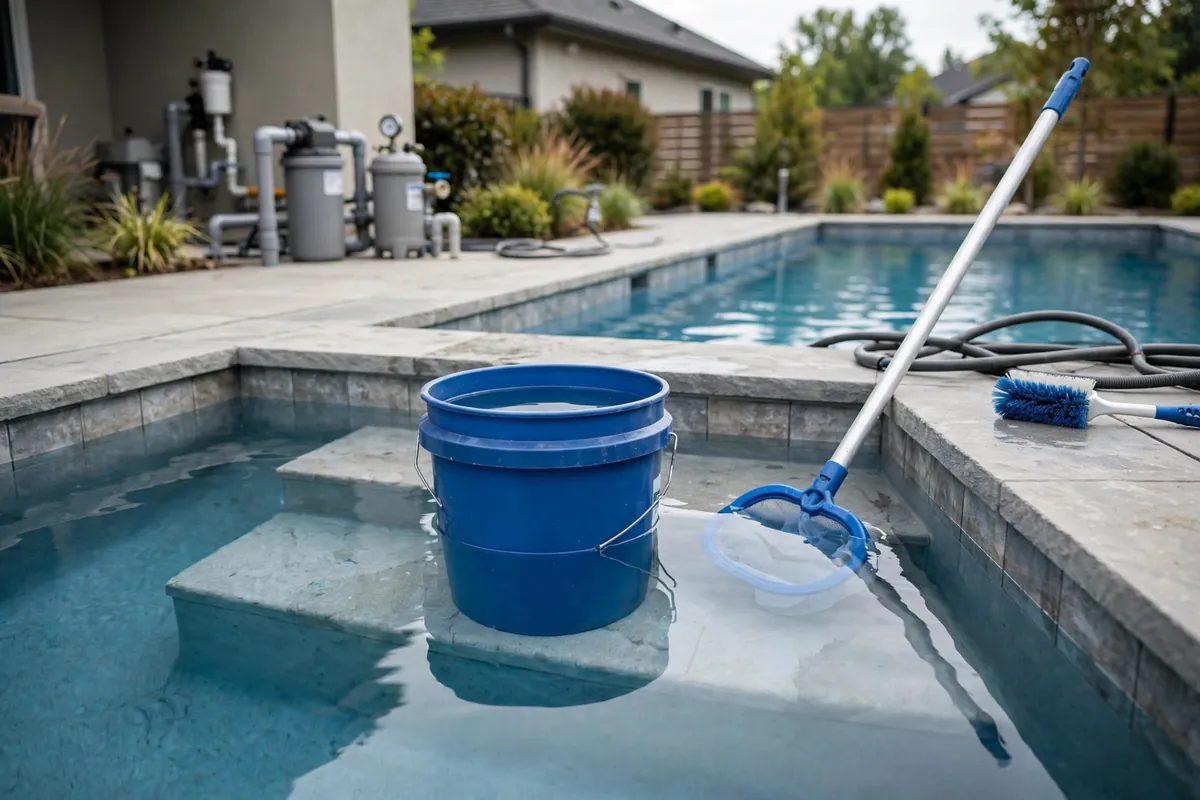
The bucket test works on a simple idea: set a water-filled bucket on your pool steps, draw a line at the water level both inside the bucket and on the pool wall beside it, then leave everything undisturbed for a full day. Both lose water to evaporation, but only the pool loses water to a leak — so if the pool drops more than the bucket, you have a leak.
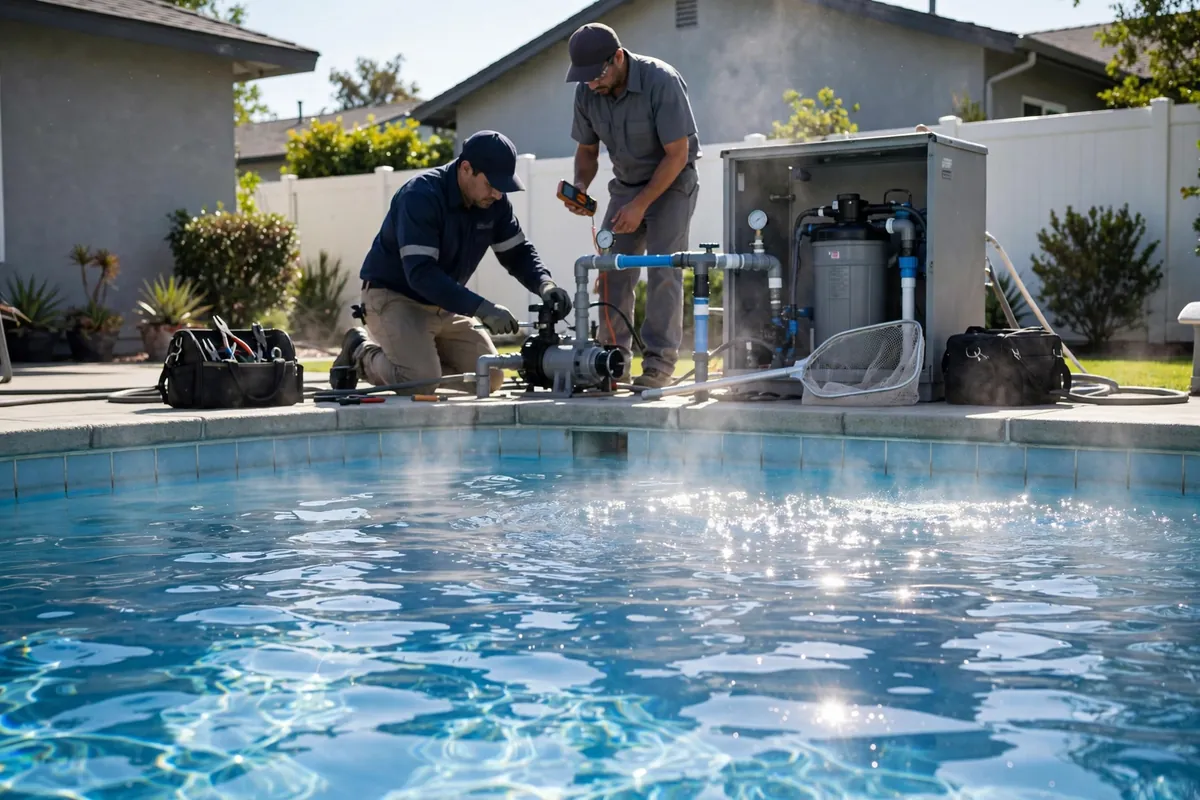
Pool professionals use this exact test as a first step before bringing out any equipment, because it rules out evaporation with no cost and no tools. Done carefully, it is accurate enough to tell you whether to call for pool leak detection or simply stop worrying — and what happens during a professional detection visit if it does. Here is the exact procedure, step by step.
In This Article
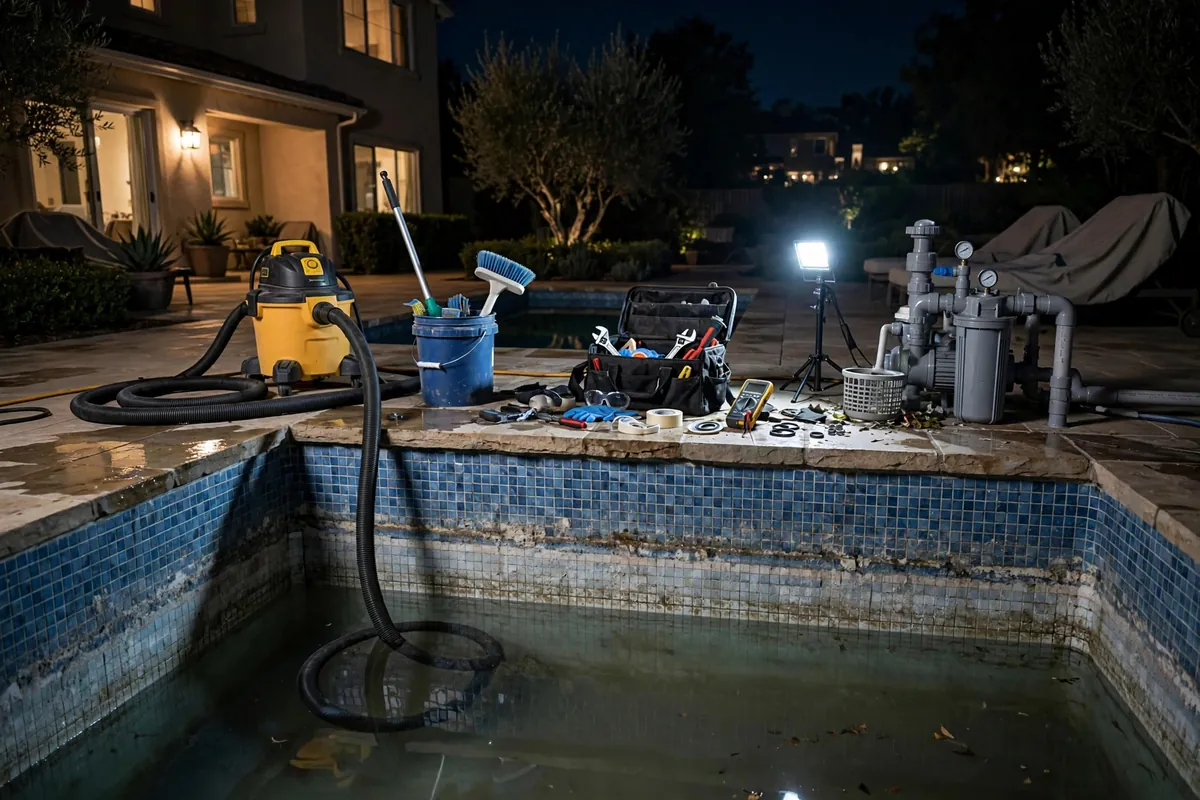
What You Need Before You Start
Gather everything first so you can set up the test in one go:
- A 5-gallon bucket (clean, no soap residue)
- Painter's tape or masking tape and a marker
- A ruler or tape measure
- Pool filled to its normal level
- Autofill turned off for the test period
- 24 hours of dry weather with no swimming planned
That is genuinely all of it. No chemicals, no gauges, no special equipment.
Setting Up The Bucket Test, Step By Step
Pick a calm stretch of weather — ideally 24 hours with no rain in the forecast. Then work through these steps in order:
- Bring the pool to its normal level. Fill it to the middle of the skimmer opening, where it usually sits.
- Turn off the autofill. An autofill will replace lost water and ruin the comparison. If you cannot turn it off, this test will not work reliably.
- Place the bucket on a pool step. Set it on the second step or a shallow shelf so it sits stable and partly submerged. The bucket must not float or tip.
- Fill the bucket with pool water. Scoop water from the pool until the level inside the bucket matches the pool's waterline outside it as closely as you can.
- Mark both levels. Put a strip of tape on the outside of the bucket at the waterline and mark the pool tile at the waterline too. A permanent marker line on the tape works well.
- Leave the pump running normally. For the first 24 hours, run the equipment exactly as you usually do. This tests the whole system under normal conditions.
- Wait 24 hours. Do not swim, splash, or add water during the test. Keep the test undisturbed.
- Measure both. After 24 hours, measure how far each waterline dropped below its mark. A ruler or tape measure gives you a real number instead of an eyeball estimate.
Write both numbers down. The comparison is the whole test.
The Pump-Off Round: An Extra Step Worth Taking
If the first round shows the pool losing more than the bucket, run the test a second time with the pump off for 24 hours. This extra round tells you something valuable:
- Pool loses more with the pump on, but matches the bucket with the pump off: the leak is probably in the pressurized plumbing — the lines that only carry water when the pump runs.
- Pool loses more than the bucket in both rounds: the leak is likely in the pool structure itself — the shell, skimmer, or a fitting — since it leaks whether the pump runs or not.
- Pool matches the bucket in both rounds: evaporation was the answer all along.
Share both rounds of results when you call a leak detection company. Knowing whether the leak is pump-dependent helps the technician decide where to start, which can shorten the visit.
Reading Your Results
There are only three possible outcomes, and each one points clearly:
- Pool and bucket dropped by about the same amount. That is evaporation. Your pool is fine — top it off and stop worrying.
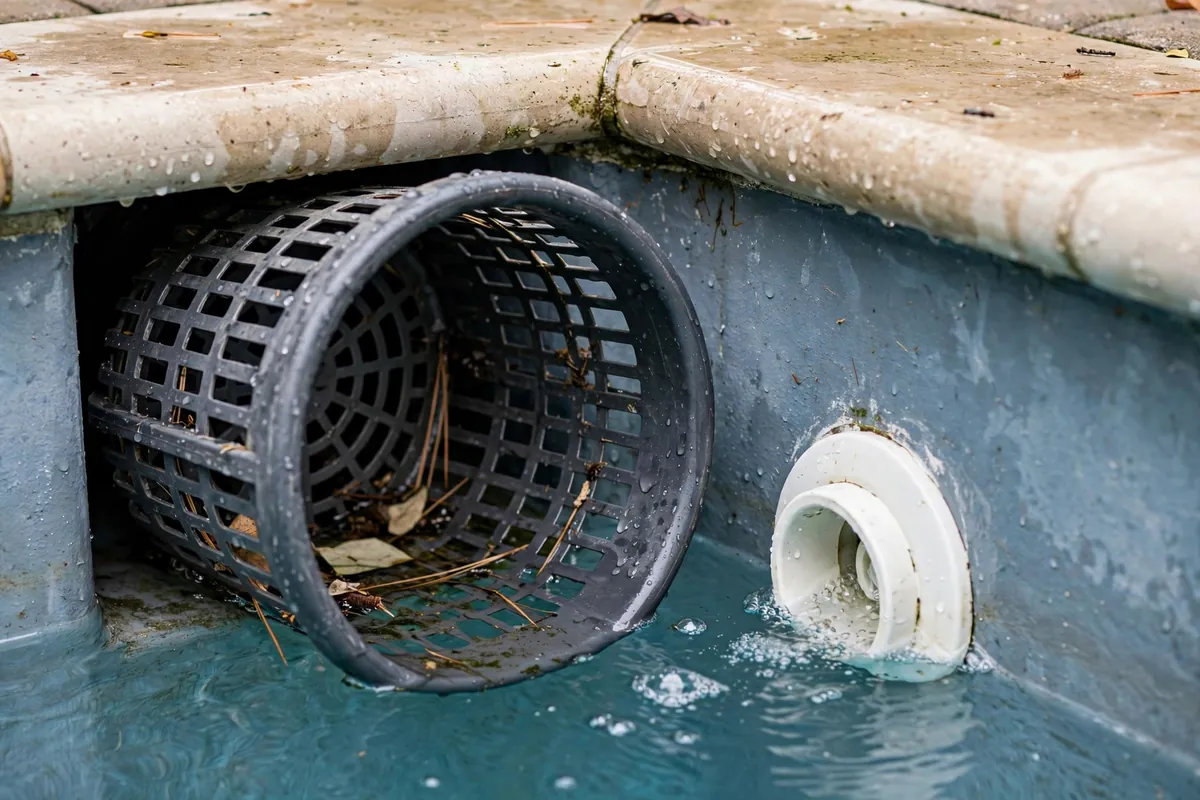
- The pool dropped noticeably more than the bucket. That is a leak. Move on to checking the common leak spots and arrange professional detection.
- The bucket dropped more than the pool. Something went wrong with the test — the bucket may have been splashed, tipped, or sitting in extra sun. Set it up again more carefully.
If the pool lost only slightly more than the bucket, repeat the test for another 24 hours before deciding. Small differences can come from measurement error or a breezy day, but a consistent gap across two days is meaningful.
Common Mistakes That Ruin A Bucket Test
Most "inconclusive" bucket tests fail for one of these avoidable reasons:
- Leaving the autofill on. This is the number one mistake. The autofill erases the evidence while you sleep.
- Testing during rain. Rain adds water to both the pool and the bucket unevenly and makes the comparison meaningless.
- Letting the bucket float. A floating bucket bobs and splashes water out. It must sit solidly on a step.
- Swimming during the test. Splash-out looks exactly like a leak on the tape measure.
- Marking only one level. You need both marks — the bucket is the control, and the test means nothing without it.
- Eyeballing instead of measuring. A ruler turns "looks like more" into a number you can act on.
What To Do After The Test
If the test says evaporation: you are done. Keep an eye on the level through the hottest weeks, and retest if anything changes suddenly. It is worth repeating the test once each swim season, because a pool that was tight last year can develop a leak this year — early testing catches it while it is small.
One more tip: run the test the same way each time — same bucket placement, same pump schedule, same 24-hour window. Consistent method makes year-to-year comparisons meaningful, and your notes become genuinely useful if you ever need to describe the history to a leak detection technician.
If the test says leak: start with the simple visual checks — walk the equipment pad, look at the skimmer throat, check the waste line — and then call for professional pool leak detection in Leesburg. A technician will dye-test the suspect spots and pressure-test the plumbing lines to pinpoint the exact location. If your water bill has already climbed, see how to check for a leak behind a high water bill while you wait. If the pool is losing water overnight or the level is falling fast, do not wait — call (352) 703-8206 and we will come out 24/7.
If the test was inconclusive: repeat it once, more carefully, on a dry calm day. Two careful tests beat one sloppy test every time.