When a pool is losing water, the leak is usually hiding in plain sight. Years of leak detection work show the same pattern: most leaks come from the places where the pool shell meets something else — the skimmer throat, the return fittings, the light niches, and the main drain. These are the joints and penetrations, and joints are where things separate, crack, and wear out.
This guide walks through each of the common spots, explains why it fails, and describes the clues you can look for yourself. Knowing the usual suspects also helps you have a smarter conversation with a leak detection technician when you call one in.
In This Article
The Skimmer: The Most Common Leak Spot
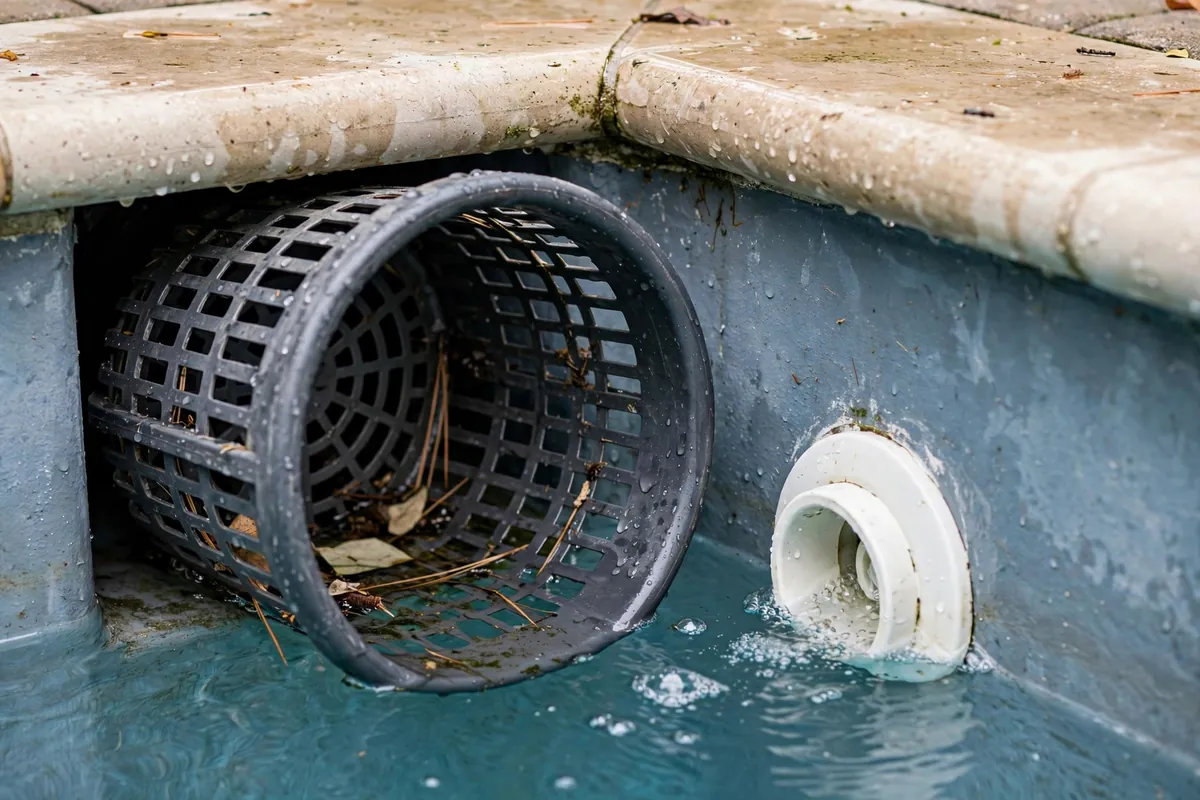
The skimmer is the number one source of pool leaks, and the reason is structural. The skimmer is a separate plastic housing set into the pool wall, and the joint between its throat and the pool shell flexes every time the ground shifts, the water level changes, or the seasons turn. Over time that joint cracks.
What to look for:
- Cracks in the skimmer throat. Shine a light into the skimmer mouth and look at the corners and edges where the plastic meets the pool wall. Hairline cracks here are classic leak sources.
- A gap behind the skimmer faceplate. If the faceplate has pulled away from the wall even slightly, water slips behind it.
- The water level stops dropping at the skimmer. This is a telling clue: if the level falls to the bottom of the skimmer mouth and then holds steady, the leak is at or above that line — and the skimmer is the prime suspect.
- Damp soil behind the skimmer. If you can access the back of the skimmer from outside, wet ground there points straight at it.
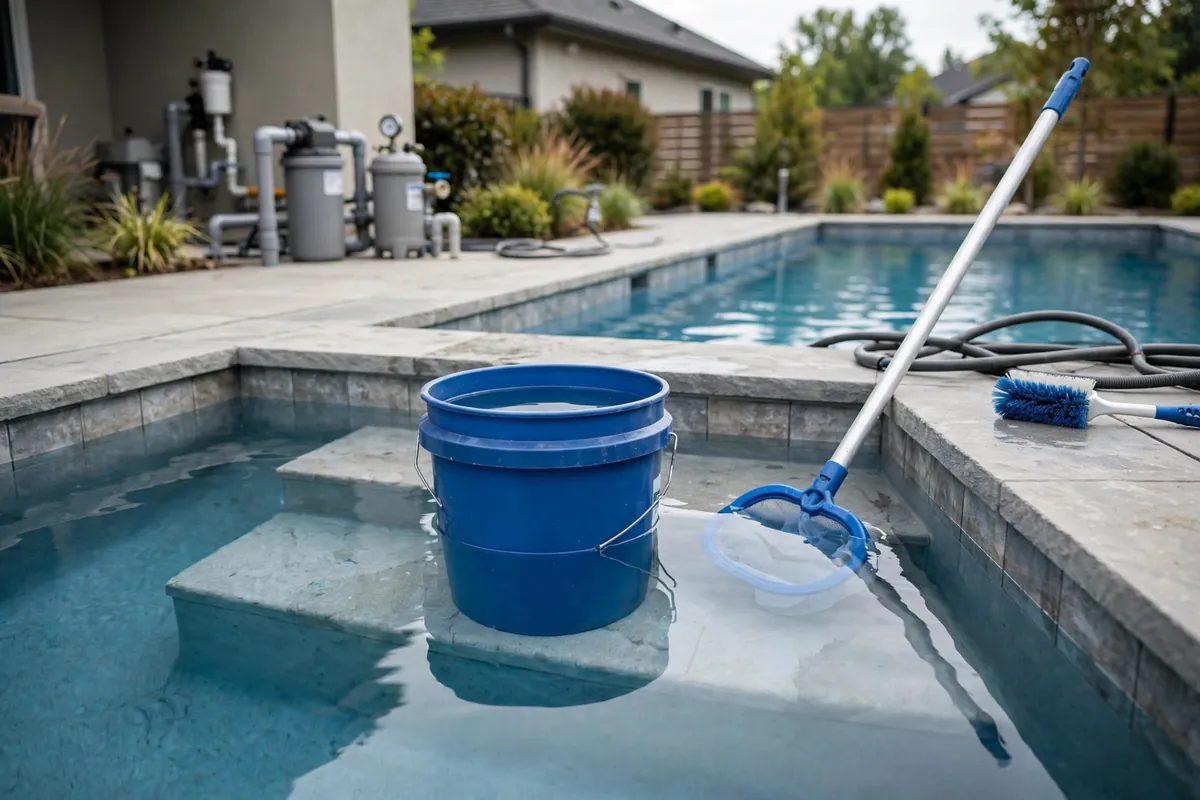
Skimmer leaks are confirmed with a dye test — a technician releases dye near the suspect crack and watches whether it gets pulled in. Many skimmer leaks are repairable without replacing the whole unit. Confirming the loss first with a bucket test keeps you from chasing evaporation.
Return Fittings And Wall Penetrations
Return jets, the main drain, and any other fitting that passes through the pool shell are all sealed with gaskets and sealant that age. Sun, chemicals, and ground movement work on them constantly.
- Return jet fittings. The wall fittings behind the return eyeballs can loosen or crack, letting water escape behind the shell. A dye test around each return shows it quickly.
- The main drain. Main drain leaks are less common but worth checking, especially in older pools. The clue is a water level that keeps falling past every other fitting until it reaches the drain — or stops just above it.
- Hydrostatic relief valves. In areas with high water tables, a stuck-open relief valve under the main drain can let pool water drain out continuously.
- Vacuum and cleaner lines. A dedicated suction line for a cleaner is another penetration that can crack, especially at the wall fitting.
Because these fittings sit at different depths, the level where the water stops falling is diagnostic: the leak is almost always at or just below the level where the drop stops.
Pool Lights And Their Conduits
Pool light niches are a notorious leak spot, and the culprit is usually not the light itself — it is the conduit. The electrical conduit runs from the back of the light niche up to the junction box, and if that conduit was not sealed properly, pool water travels along it and out.
- Water in the light lens. A little condensation is normal, but a lens full of water suggests the seal has failed.
- A loose niche. If the whole light assembly wobbles in the wall, the seal around it is compromised.
- The level stops at the light. Like the skimmer clue: if the waterline falls to the light and holds, the niche or its conduit is suspect.
Pool lights combine water and line-voltage electricity. Never remove a pool light or open its junction box yourself — leave all light-niche work to a professional.
A technician confirms a light-niche leak with dye testing and can often seal the conduit without replacing the fixture.
Main Drains, Autofills, And The Tile Line
Beyond the big three, a few more spots round out the usual-suspect list:
- Autofill canisters. The small canister beside the pool that houses the autofill float has its own seals and plumbing. A cracked canister leaks just like a skimmer does.
- Tile line and coping joints. Cracked grout or separated coping lets splash-over water get behind the shell, which looks like a leak from the water bill's perspective even though the pool holds water.
- Structural cracks in the shell. Real shell cracks are less common than fitting leaks, but they happen — especially where the pool meets the spa spillover or where ground has settled. A crack that visibly widens over weeks deserves prompt professional attention, since movement means the underlying cause is still active. Photograph the crack with a coin beside it for scale, then photograph it again in a month — the comparison tells a technician whether the movement is ongoing or historic.
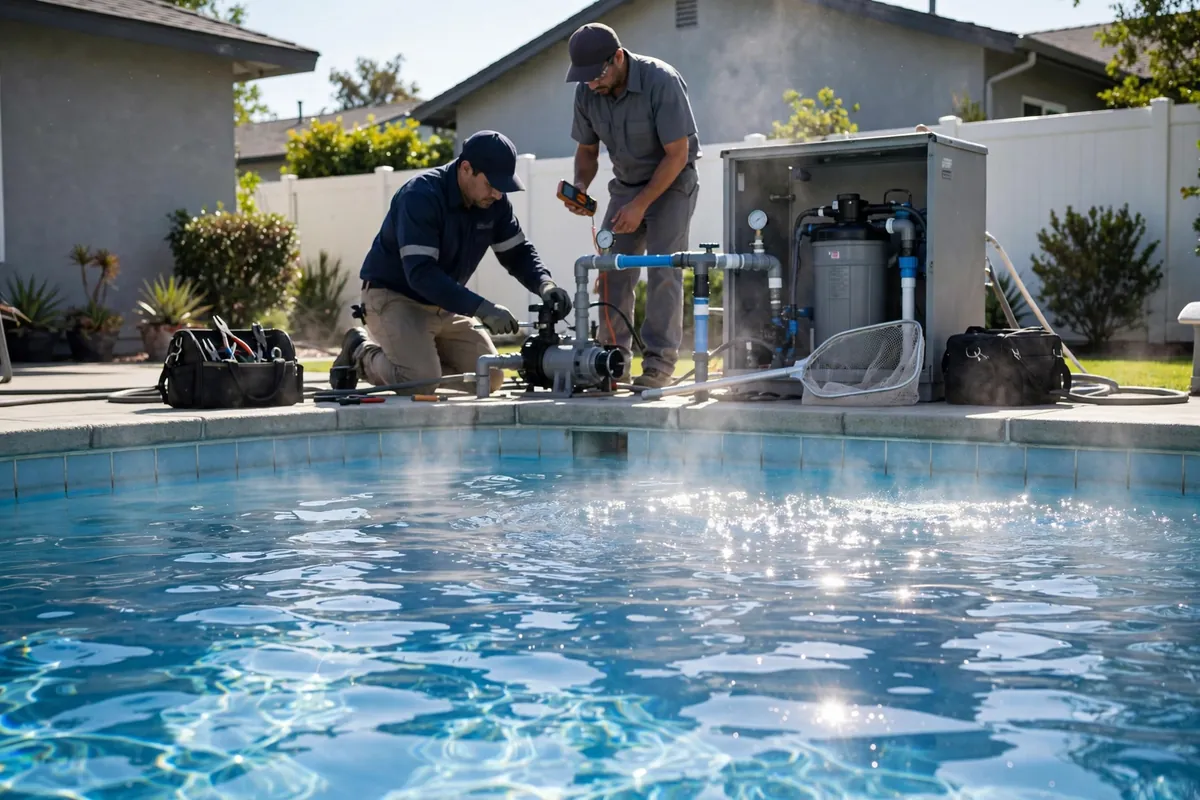
- Equipment pad connections. Before assuming the leak is in the pool, check where the plumbing meets the pump, filter, and heater. Union fittings and valve seals drip steadily and are easy to spot. When the whole system needs checking at once, whole-property water leak detection covers pool, plumbing, and service lines together.
How A Professional Confirms Which Spot Is Leaking
Knowing the suspects is half the job. Confirming the guilty one takes method, not guesswork:
| Leak Spot | How A Technician Confirms It |
|---|---|
| Skimmer throat or faceplate | Dye test — dye released at the crack gets visibly pulled in |
| Return fittings | Dye test at each fitting, plus pressure testing the return line |
| Light niche and conduit | Dye test around the niche; inspection of the conduit seal |
| Main drain | Dye test at the drain; water-level drop pattern |
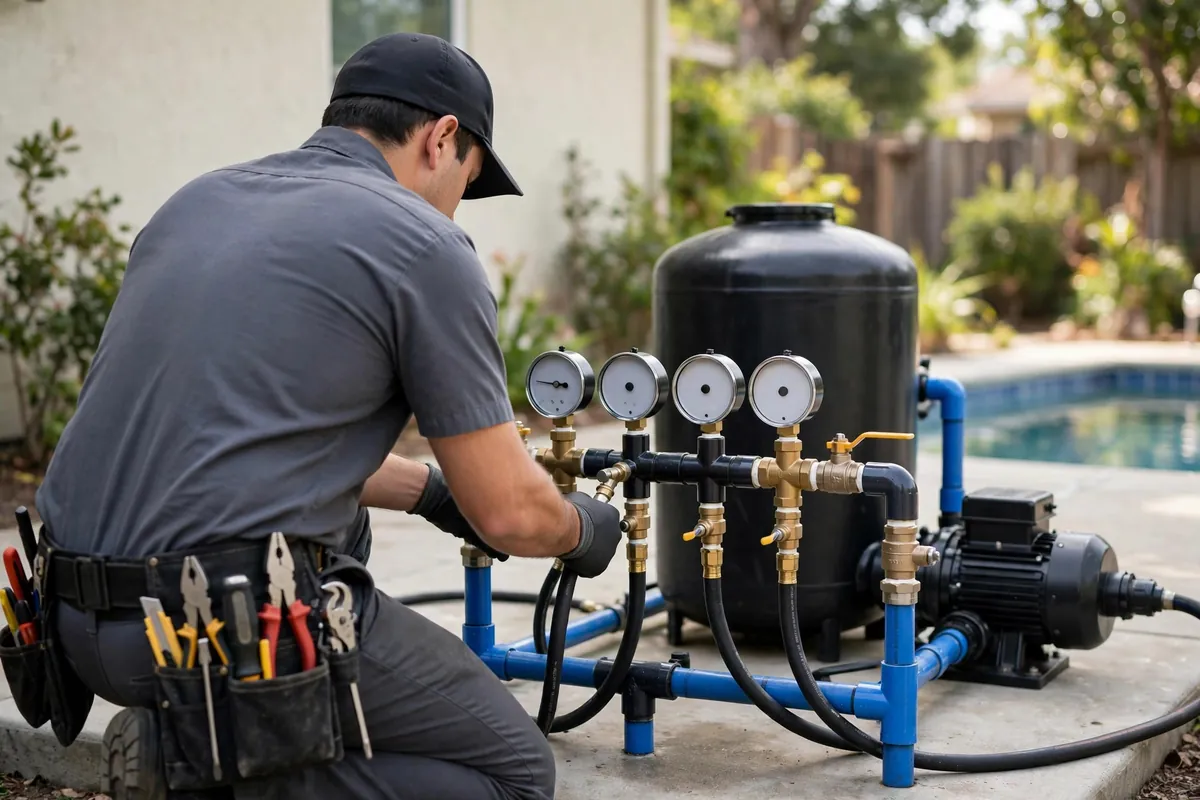
| Plumbing lines | Pressure testing each line independently to find the one that will not hold |
| Equipment pad | Visual inspection under pressure — drips show themselves |
This systematic approach is why professional detection usually finds the leak in a single visit. You can read the whole process in our guide to how pool leak detection works step by step. If your pool is losing water overnight, start with the visual checks above tonight and call (352) 703-8206 — we answer 24/7, and our emergency pool leak service covers nights and weekends.