Sewer line epoxy lining — also called cured-in-place pipe, or CIPP lining — repairs a damaged sewer pipe by installing a resin-soaked liner inside the existing pipe and hardening it into a smooth, jointless new pipe. The old pipe stays in the ground and becomes a host for the liner, which means no trench through your yard, driveway, or slab in most cases.
It works well for cracks, root intrusion, and corrosion. But it cannot fix a fully collapsed pipe or a severe sag — and knowing that boundary matters, because lining is only the right choice when the pipe qualifies. A camera inspection always comes first.
In This Article
What Epoxy Lining Is
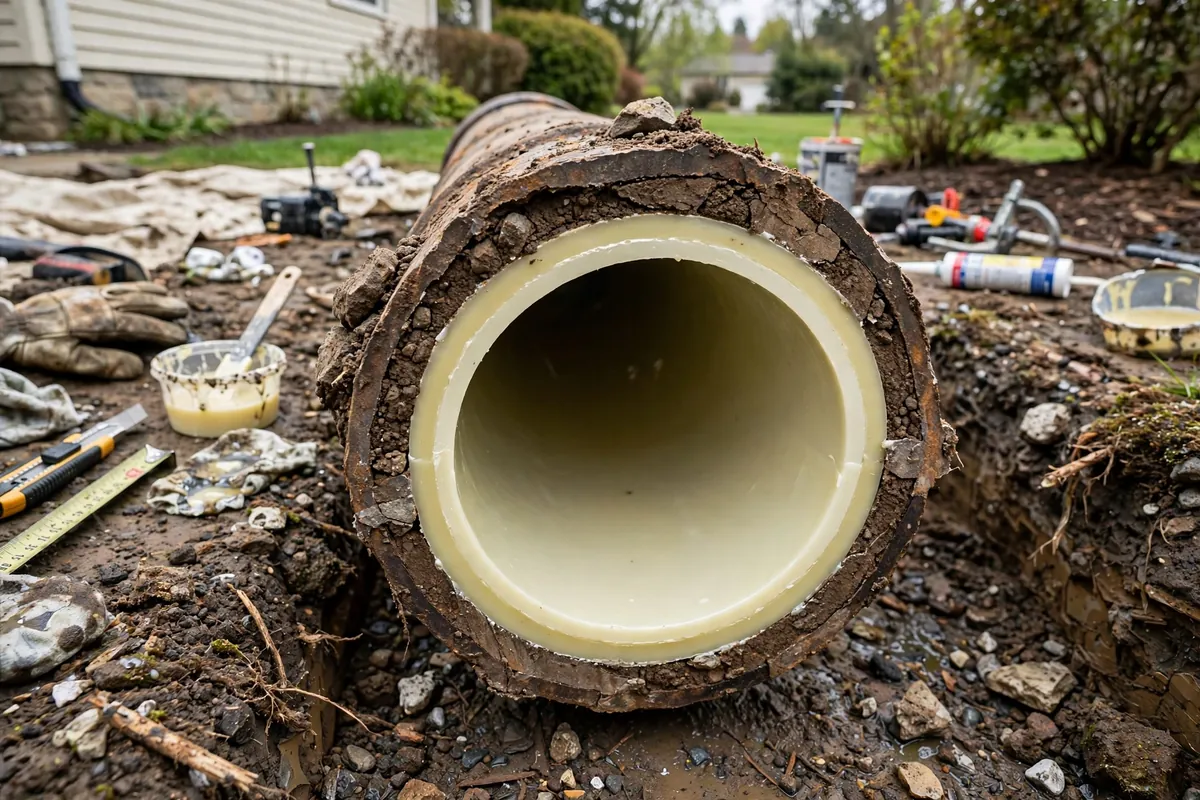
Epoxy lining is a trenchless repair method that creates a new pipe inside your existing one. A flexible felt or fiberglass tube, saturated with a two-part epoxy resin, is inserted into the damaged pipe and then cured — hardened — until it forms a rigid, smooth, jointless pipe bonded to the inside of the old one. Plumbers call the method cured-in-place pipe, or CIPP, and the old pipe the host pipe.
The key idea is simple: most of what makes a sewer pipe fail — cracked walls, leaking joints, root entry points, rough corroded surfaces — lives on the inside surface and at the joints. A continuous liner covers all of it at once, sealing cracks and joints along the full lined section in a single installation.
Because the work happens entirely inside the pipe through existing access points, there is no trench. Landscaping, driveways, patios, and interior slabs stay exactly as they are. For pipes running under a home's foundation — the classic Leesburg slab scenario — that difference is enormous: the alternative is breaking through the slab to reach the pipe. Our sewer line epoxy lining service exists specifically for these hard-to-reach pipes.
How The Lining Process Works, Step By Step
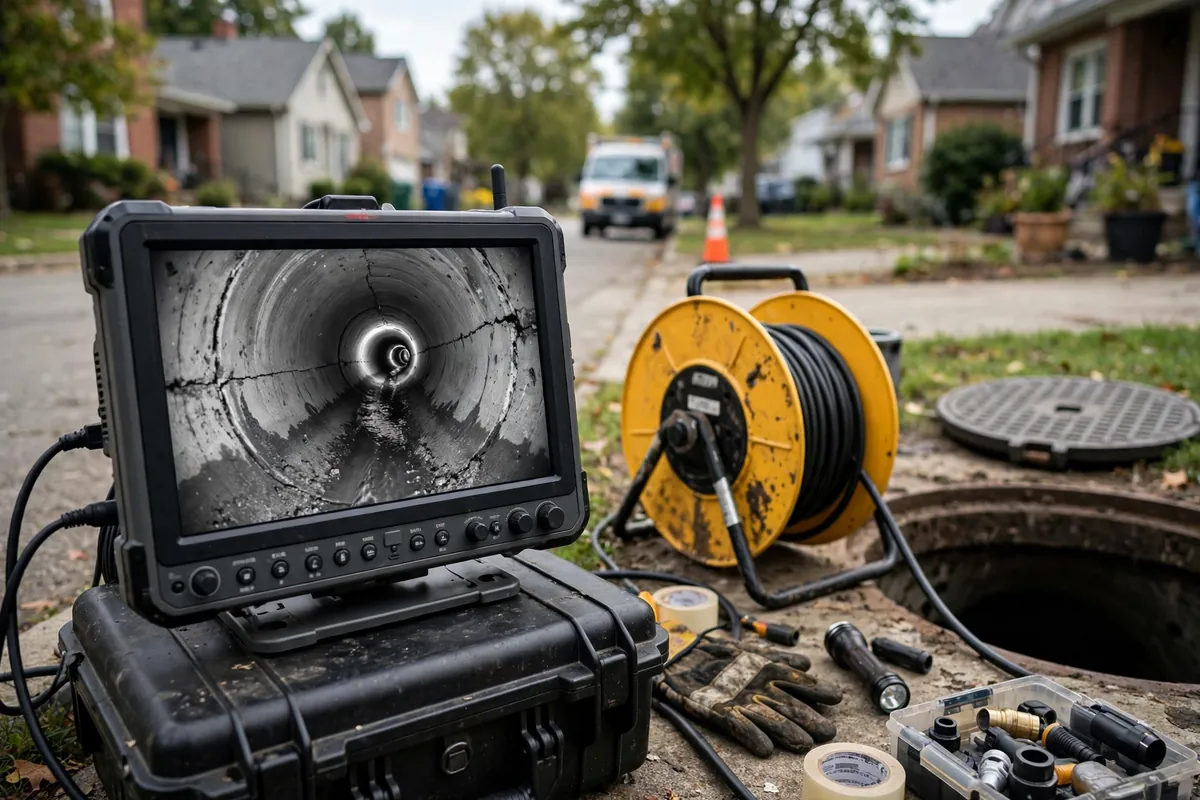
Everything starts with a sewer camera inspection. The technician maps the pipe's length, diameter, and condition, and confirms the damage is the kind lining can fix. Lining a pipe that has not been inspected is guesswork — the camera is what qualifies or disqualifies the pipe.
Next comes preparation, and it matters as much as the lining itself. The pipe is thoroughly cleaned — usually with hydro jetting — to remove roots, grease, scale, and debris. The epoxy needs a clean surface to bond to, and any obstruction left inside becomes a permanent part of the finished pipe. A second camera pass verifies the pipe is clean and measures the exact length for the liner.
Then the liner is prepared. The felt tube is saturated with mixed epoxy resin, calibrated to the pipe's diameter and length, and loaded for installation. The technician inserts it through a cleanout or access point — either by inversion, where water or air pressure turns the liner inside-out as it travels down the pipe, or by pulling it into place with a winch cable. Both methods end with the resin-soaked liner pressed firmly against the host pipe's interior.
Curing hardens the resin into a rigid pipe. Depending on the system, curing happens with ambient temperature, circulated hot water, steam, or ultraviolet light. The technician monitors the cure to make sure the full length hardens evenly — an under-cured section would be a weak spot.
After curing, branch connections are reinstated. Anywhere a branch line joins the main, the technician locates the spot on camera and cuts the liner open with a robotic cutter, restoring flow from each branch. A final camera inspection confirms the liner is smooth, fully cured, and open at every connection.
The cleaning step before lining is not optional. Epoxy bonds to whatever surface it touches — a properly jetted pipe gives a strong, smooth liner, while leftover roots or scale get locked in permanently.
What Epoxy Lining Fixes Well
Cracked pipe walls are the textbook case. Longitudinal cracks and fractures that leak wastewater into the surrounding soil get fully sealed when the liner bridges over them. The camera shows the cracks; the liner covers them in one continuous surface.
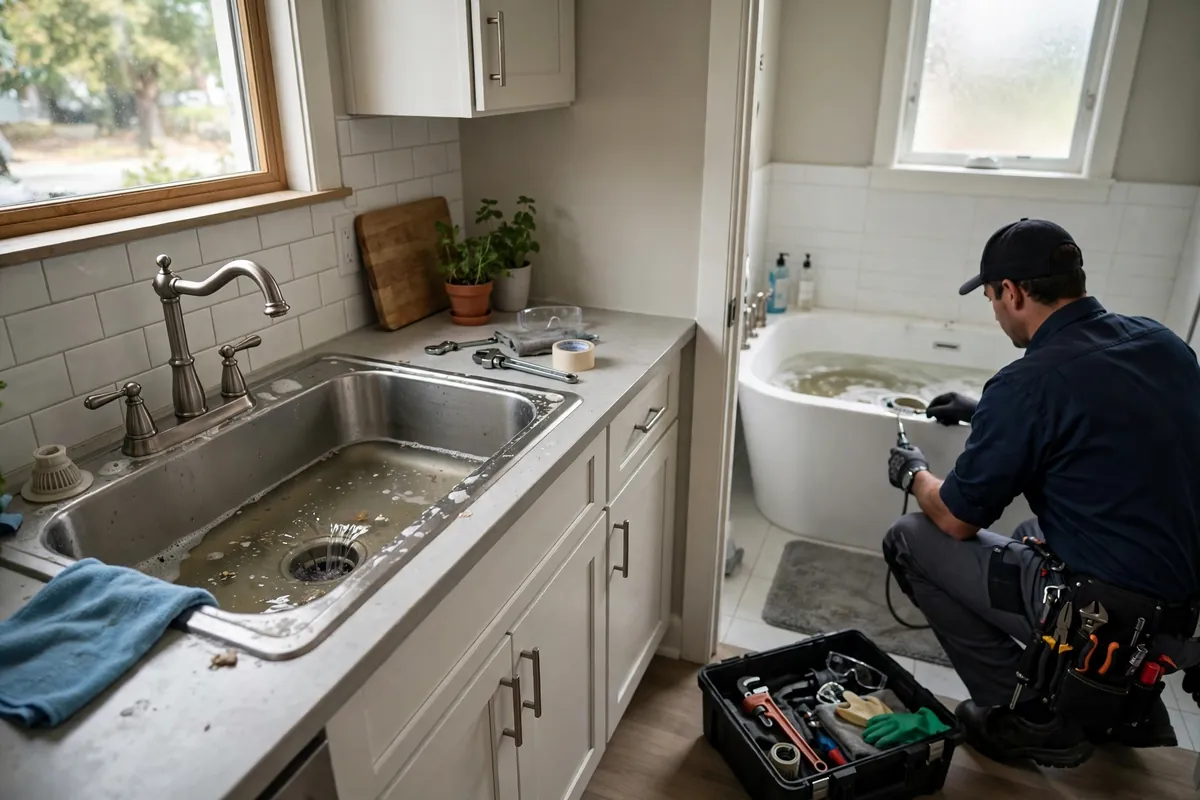
Root intrusion at joints is another strong fit — provided the roots are cleaned out first and the joint itself is still aligned. Once the joint is sealed inside a jointless tube, roots lose the entry points they exploited. This is why lining often follows a history of recurring main line clogs caused by roots: clearing removes the symptom, lining removes the cause.
Corrosion and pitting in older metal pipes respond well too. The liner covers the rough, deteriorated interior with a smooth new surface, which restores flow and stops further material loss at the pipe wall. Small offsets — joints that have shifted slightly but still basically align — can also be lined over, since the flexible liner conforms to minor irregularities before it hardens.
Leaking joints round out the list. Every joint in a sewer line is a potential leak point, and older lines have many. A full-length liner seals all of them at once instead of requiring each joint to be addressed individually.
What It Cannot Fix: Honest Limitations
Lining needs a host pipe, and that is its fundamental limit. A fully collapsed section has no pipe left to line — there is nothing for the liner to press against or take shape from. Collapsed sections need excavation and replacement, not lining.
Severe bellies — sagging sections where the pipe has lost its slope — are also out. A liner follows the shape of the host pipe, so it reproduces the sag rather than correcting it. Wastewater would still pool in the low spot, and solids would still settle there. A belly needs regrading, which means digging.
Major misalignment is a similar story. If two pipe sections have shifted so far apart that they barely connect, a liner cannot bridge the gap structurally. Significant diameter changes, missing sections of pipe, and pipes installed with the wrong slope (back-pitched) all fall outside what lining can correct.
There are practical limits too. The pipe must be cleanable — if it cannot be jetted clear, it cannot be lined. Access must exist or be created at both ends of the section. And the liner slightly reduces the inner diameter, which is harmless in most cases but worth knowing.
An honest contractor tells you when lining is wrong for your pipe. If someone recommends lining without a camera inspection, or recommends it for a collapse the camera clearly shows, get a second opinion. The camera footage from a proper inspection is what separates a candidate pipe from a non-candidate — always ask to see it.
A lining recommendation without a camera inspection is a red flag. The inspection is what proves the pipe qualifies — and what protects you from paying for a fix that cannot work.
How Lining Compares To Traditional Dig-And-Replace
Traditional replacement excavates the old pipe and installs a new one. It fixes everything — collapses, bellies, misalignment — because the new pipe is laid fresh with correct slope. Its cost is disruption: trenches through yards, demolished driveways or patios, and, for under-slab pipes, breaking through the foundation itself, with all the restoration that follows.
Lining avoids that disruption entirely. No trench, no demolished surfaces, no landscape restoration. For pipes under slabs, driveways, or mature landscaping, the avoided restoration work is often the deciding factor.
The trade-off is scope. Replacement fixes any defect; lining fixes only the defects a host pipe can carry a liner through. That is not a flaw in the method — it is the boundary of it. The right choice comes from the camera footage: a cracked but intact pipe under your slab is a lining candidate, while a collapsed section under an open yard is a digging candidate.
Many projects use both. A line might be lined along its intact run and excavated at the one collapsed section. The inspection map makes that kind of targeted plan possible — fix each defect with the method that fits it, instead of applying one method to the whole line.
Is Your Pipe A Good Candidate?
A few signs point toward lining. Recurring root clogs at the same joints, camera footage showing cracks or corrosion in an otherwise intact pipe, and pipes running under slabs, driveways, or pools — where digging would be destructive — are all classic lining scenarios. If your line has needed clearing more than once for the same problem, lining may end the cycle.
Signs pointing away from lining include a known collapse, a belly that keeps collecting debris even after cleaning, and major joint displacement visible on camera. Standing water that never drains from a section of pipe, even when the line is clear, suggests a grade problem that lining cannot fix.
The only way to know is to look. Our epoxy lining service starts with a camera inspection and an honest assessment: if your pipe qualifies, we will show you why on the monitor; if it does not, we will show you that too, and explain the alternatives. For buried line damage beyond the sewer line, the same inspect-first principle applies.